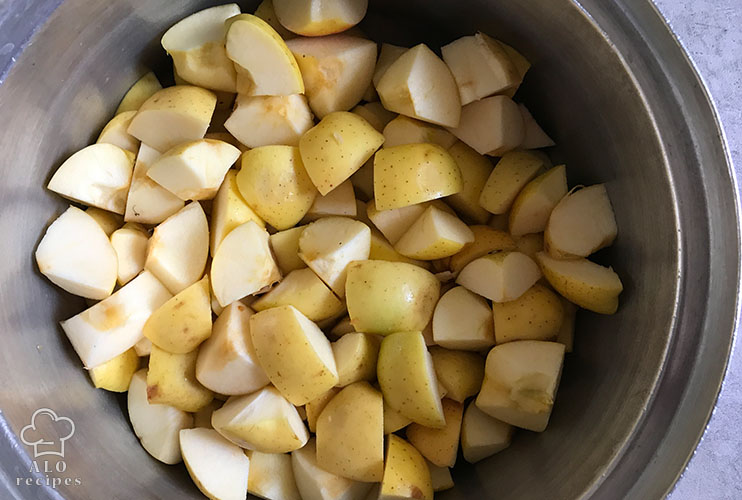
Prepare the apples; Wash the apples, cut each into four pieces and extract the seeds.
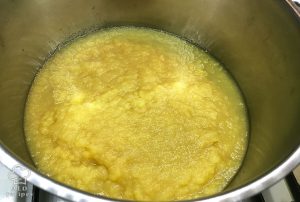
Cook the apples; In a saucepan or pot, put the apples on the stove until fully cooked and soft, you can close the lid. Apples are pretty hard, so add one cup of water. The process can take 30-40 minutes. If the apples are still hard by then, use the back of a ladle or a blender to mash them. After cooking, turn off the stove and let the puree cool.
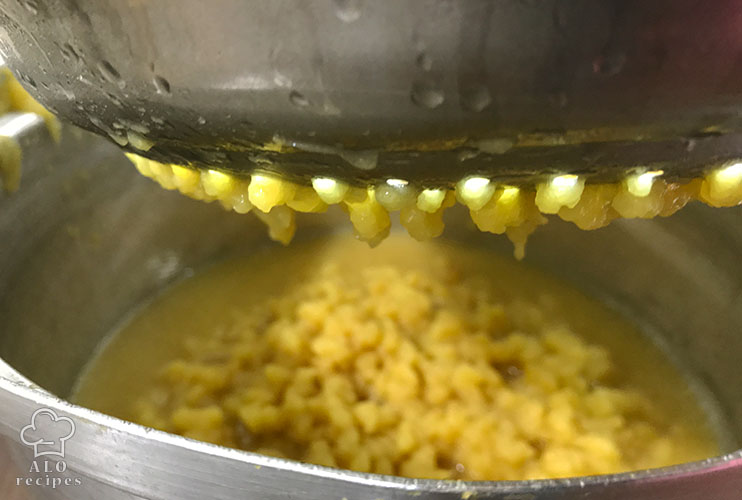
Strain the apple puree; Put a strainer on the top of a pot. Empty the cooked apples into the strainer. Using your hand or a spoon, add pressure and claw the apples until the skin comes off of the fleshy parts of the apple and results in a thick puree.
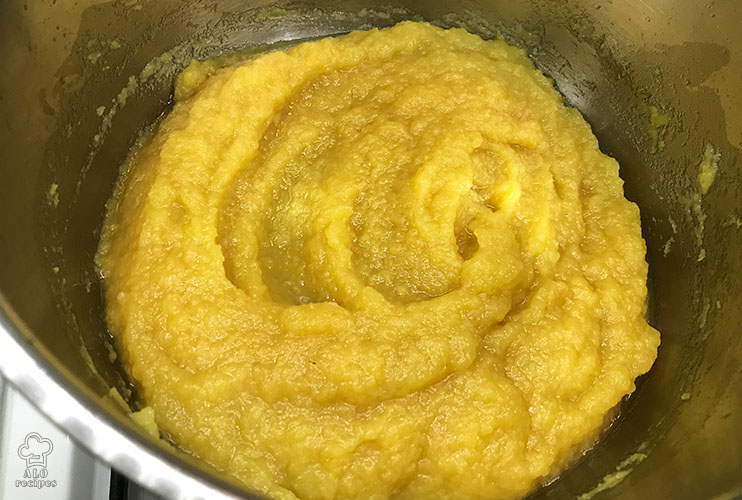
Put the puree on the stove again; If your puree is too watery, cook it again until the extra water evaporates and you get the proper thickness. In this stage, leave the lid open and constantly stir the contents so that they don't burn on.
Add sugar or salt; Before turning the stove off, test the puree’s flavor. Add some sugar or salt. The amount depends on your preference. For 2 kilogram of sweet apple, add 1 tablespoon of salt. If you’ve used sour apples, you can add one spoon of sugar to balance the taste.
Turn the stove off and let the puree cool.
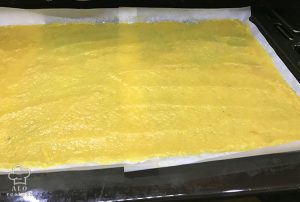
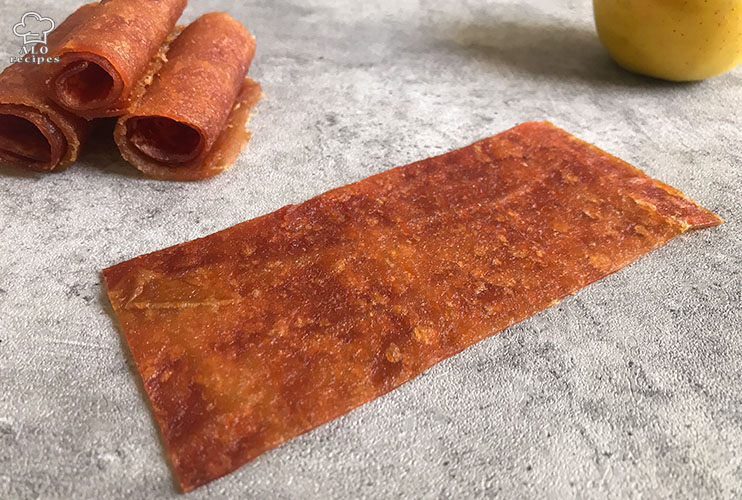
Spread the puree on a tray covered with parchment paper, smoothen the surface.
Put the tray under the sun or in the oven for the drying process.
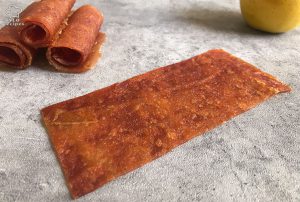
Enjoy!