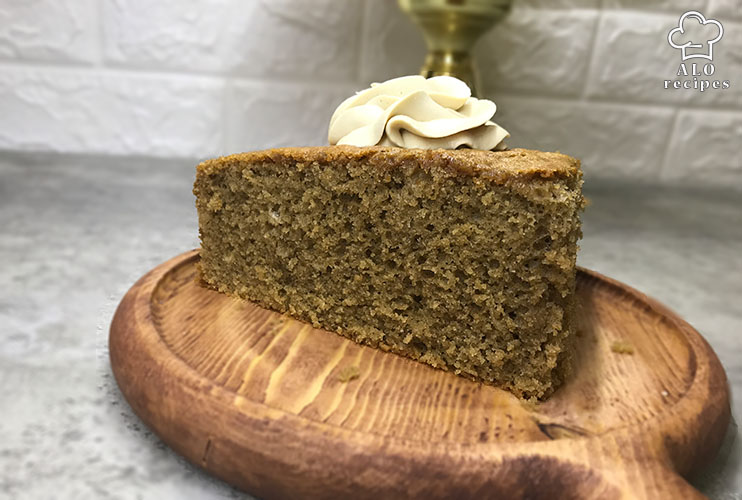
Nescafe Cake (Spongy) with fantastic topper
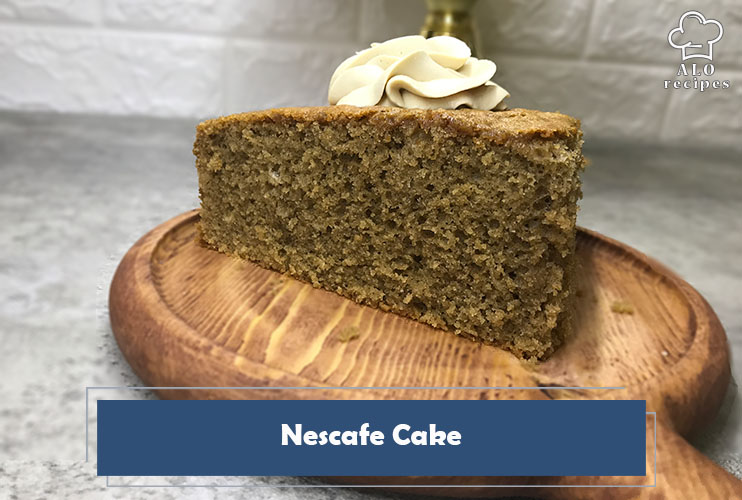
Nescafé cake is a cake with great and unique taste. The aroma of Nescafé in this cake is intoxicating, and the texture is spongy and puffy.
It’d look even more alluring with a delicious topping. You can prepare this beautiful and delicious cake for your gatherings and parties and serve it with hot drinks like coffee and tea. It’s a perfect evening snack, and also an amazing choice for breakfast with a glass of milk.
I have seen recipes for Nescafe instant cakes on the internet, which appear in the refrigerator. But the taste of this baked Nescafe cake is great and I wouldn’t trade it for anything else. After cooking, you will love its spongy texture.
This is a tested recipe without flaws, and I strongly recommend trying it!
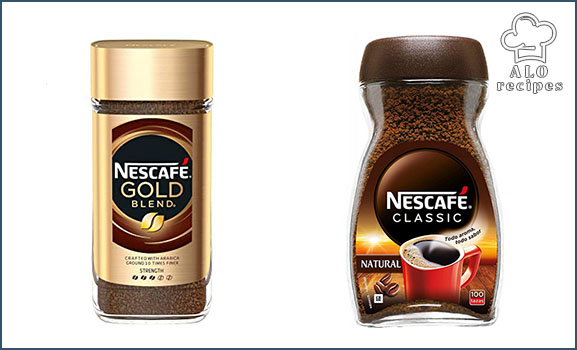
What type of Nescafé is suitable for Nescafé cake?
Using gold or classic Nescafé is the best choice for this cake.
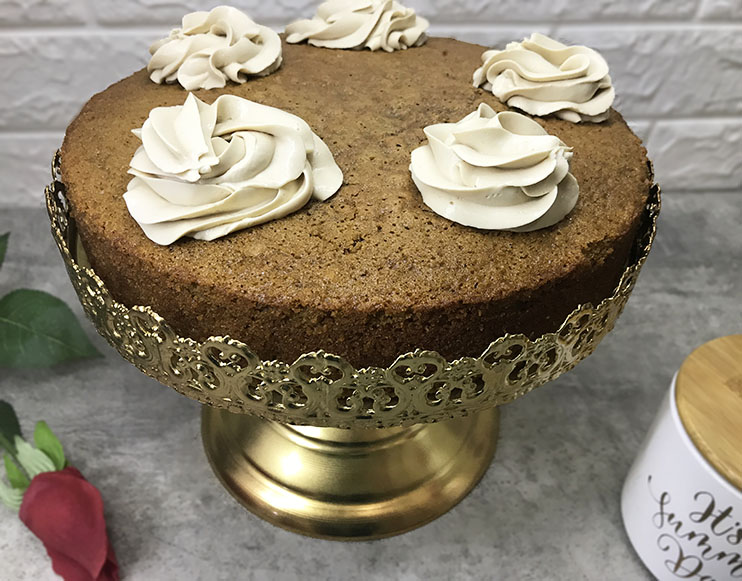
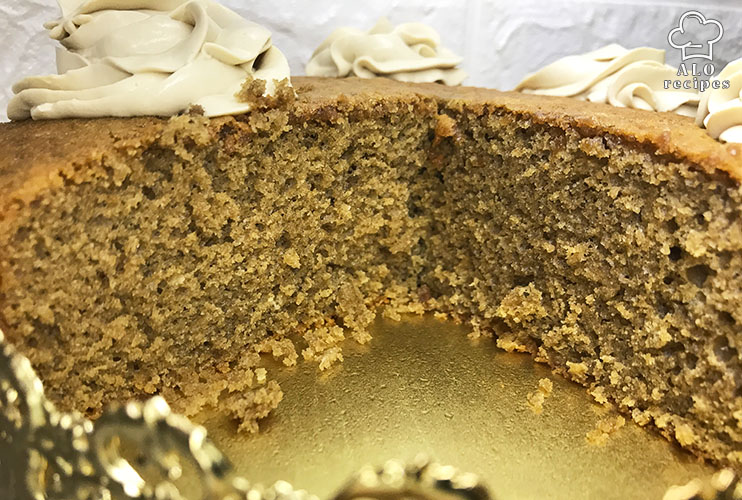
What topper should I use for Nescafé cake?
As for the topper, I’ve chosen a cheesy cream topping and Nescafé sauce. Cheesy cream is an amazing mixture of cream cheese and whipping cream that you’re gonna love! Nescafé sauce is an easy sauce made with cream and milk chocolate and has a wonderful sweet taste. I’ve brought you two great options, and the decision is yours to choose whichever topper you prefer!
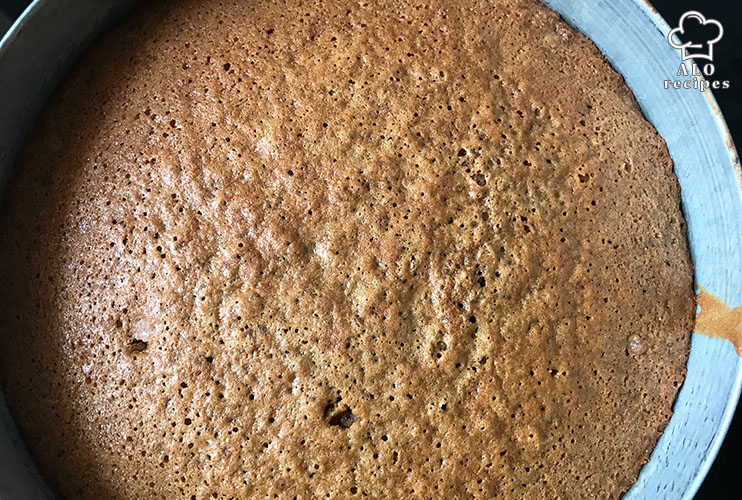
How do I know whether or not the cake is baked?
If you want to know whether the cake is fully baked or not, other than the toothpick test, you can use the following methods. These work on all cakes:
- When the cake is done, the smell of baked cake fills the air. This is one of the signs that your cake is ready.
- When you touch the surface of the cake, it doesn’t stick to your hand. Also, the texture of the baked cake is hard and stable and is no longer in the initial doughy state.
- When the cake is baked, the initial batter’s color changes into a brownish one. In Nescafé cake, the creamy color changes into brown. Vanilla cake’s batter is milky colored, and after being baked, it becomes light brown.
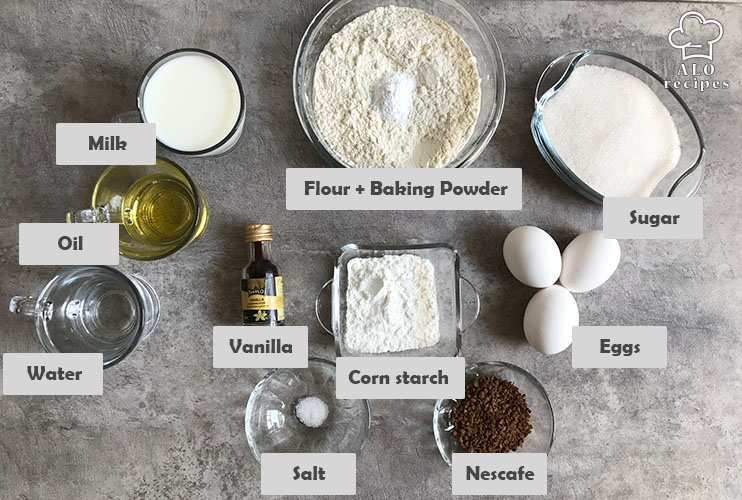
Nescafe cake Ingredients:
Nescafe cake
Nescafe cake is a cake with a wonderful nescafe aroma. with two great topper, and the decision is yours to choose whichever topping you prefer!
Servings: 8 people
Ingredients
- 2 ¼ cup Flour
- ¼ cup Corn starch
- 2 tbsp Nescafe full
- 3 Eggs
- 1 cup Milk
- ⅔ cup Oil
- 1 ¼ cup Sugar
- 1 tbsp Baking powder
- some drops Vanilla Essence
- ⅛ tsp Salt
- 1 tbsp Boiling water full
Nescafé sauce recipe:
- 2 tsp Nescafé
- 2 tbsp Corn starch full
- ¼ cup Sugar
- 3 tbsp Cream full
- 25 gr Milk chocolate or white chocolate
- ⅔ cup High-fat milk
Instructions
- Preheat the oven to 180° C (365° F) 15 minutes prior.
- Grease a round 20 cm (8 inches) or 23 cm (9 inches) cake pan and cover it with a piece of parchment paper. You can also use a 9-inch Bundt cake pan.
- Combine flour, salt, and baking powder and sift twice to thoroughly disjoin the flour particles.
- Dissolve the Nescafé in boiling water.
- Mix the liquid Nescafé with milk.
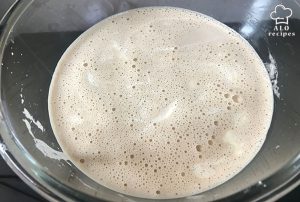
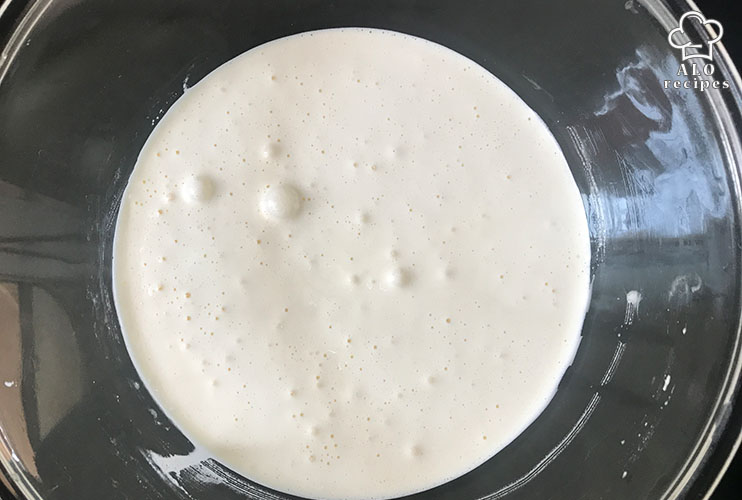
- Beat the eggs and vanilla with an electric mixer for about 4 minutes until it gains more volume.

- Add the sugar in little by little and beat for 7-8 minutes until the mixture is bulkier, white, and fluffy.

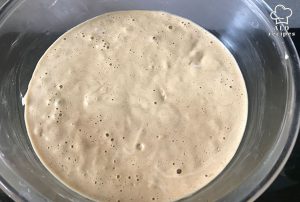
- Add in the milk mixture as the egg is being beat, by the mixer at a slow speed.
- Little by little, add the oil.
- Add the dry ingredients while mixing in 2-3 steps. With a whisk or silicone spatula, mix them well so they eventually dissolve.
- Pour the batter into the cake pan and bake in the oven for 50-70 minutes.
- After 40 minutes, do a toothpick test; insert a wooden toothpick in the middle of the cake, if it comes out clean, the cake is ready!
- After turning the oven off, leave its door open for 15 minutes, then take out the cake so that the cake doesn’t receive a sudden shock.
- When the cake has completely cooled, remove it from the pan.


Cheesy cream recipe:
- Beat the cream cheese with mixer.
- As you’re beating the cheese, add in the icing sugar and mix well.
- Add the whipping cream.
- Mix Nescafé with boiling water, dissolve and add to the mixture.
- When the mixture becomes smooth, turn the electric mixer off.
- Using a plastic piping bag and the tip of your choice, pipe the cream on the cake.
Nescafé sauce recipe:
- Mix cold milk and corn starch. Add in the cream and mix well until they are well combined.
- Put the mixture over heat. Stir constantly until it’s smooth and thick.
- Add in the Nescafé powder and mix until it dissolves.
- Remove from the heat, add in crushed chocolate bars and mix until they melt.
Notes
Important tips about making Nescafé cake
- Don’t open the oven’s door during the first 30 minutes of the baking process, it’ll flatten the cake.
- You can cut the cake in half. For the filling, you can use the cheesy cream in the middle and pipe the remaining on the surface of the cake.
Important tips about making Nescafé sauce
The type of chocolate (bitter or sweet) depends on your preference. If you want a sauce that is lighter in color and the chocolate taste isn’t dominant, use white chocolate or milk chocolate. You can also use a combination of white and dark chocolate.I think that’s fair to say that this cake with its wonderful topping is one of the best recipes on my blog. I have also added it to the dessert recipes in Dessert Recipe Finder.
Conclusion
Nescafé cake is a delicious cake that tastes even more wonderful alongside a topper. Personally, I love the cheesy cream piped on it. The taste of Nescafé with cream cheese and whipping cream is a unique and mouthwatering combination.
If you make this cake and fall in love with it as I did, share your opinions with me in the comments!